When it comes to home improvement, window film stands out as a versatile and cost-effective solution for enhancing the aesthetics and energy efficiency of any space. But a common concern for many homeowners and professionals alike is whether window film can be removed without leaving a sticky mess behind. In this article, we’ll explore the ins and outs of window film removal process, providing you with the knowledge you need to tackle this task with confidence.
Before diving into the removal process, it’s important to understand what window film is and why it’s used. Window film is a thin laminate that can be installed on glass surfaces. It comes in various types, including decorative, solar control, and security films, each serving different purposes.
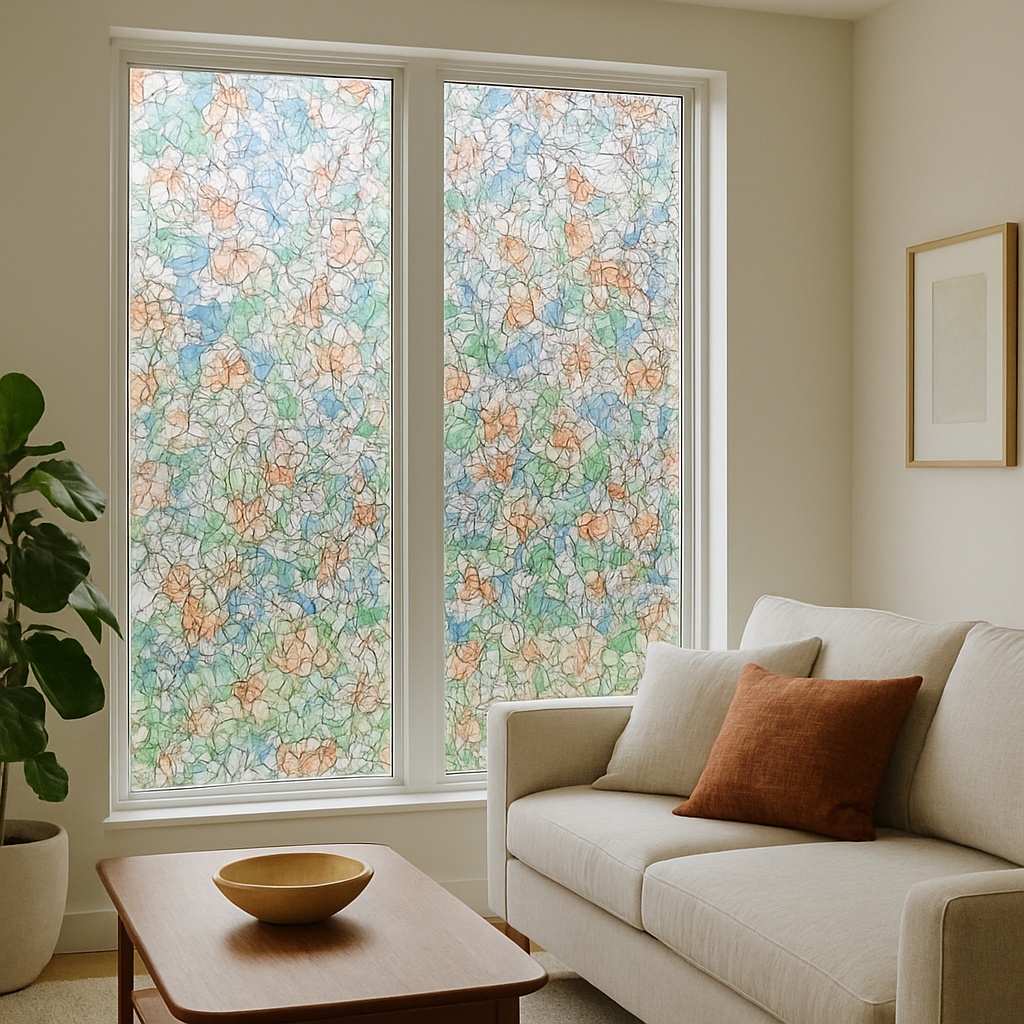
Decorative films add a stylish touch, solar films reduce heat and glare, and security films provide an extra layer of protection. Regardless of the type, all window films share a common concern: how to remove them without leaving residue.
Why Remove Window Film?
There are several reasons you might want to remove window film. Perhaps the film has become damaged or discolored over time, or you’re ready for a design change. Maybe you’re a professional like an interior designer, seeking to update a space with new and improved solutions. Whatever the reason, understanding the removal process is crucial.
Common Reasons for Removal
- Aesthetic Changes: Updating the style of a room or building can necessitate the removal of old window film to accommodate new design elements.
- Damage or Wear: Over time, films can become scratched, faded, or start to peel.
- Upgrades: Newer films may offer better technology, such as improved UV protection or energy efficiency.
The Window Film Removal Process
Removing window film doesn’t have to be a daunting task. With the right tools and techniques, you can remove the film without leaving sticky residue on your windows.
Tools Needed for Removal
- Heat Gun or Hair Dryer: Heat softens the adhesive, making it easier to peel the film off.
- Utility Knife or Razor Blade: For cutting and scraping film edges.
- Spray Bottle with Soapy Water: Helps in loosening adhesive residue.
- Plastic Scraper: To avoid scratching the glass during removal.
- Microfiber Cloth: For cleaning the window after film removal.

Step-by-Step Removal Guide
- Soften the Adhesive: Begin by heating the film with a heat gun or hairdryer. This softens the adhesive, making it easier to peel.
- Peel the Film: Start at a corner and gently lift the film using a utility knife or razor blade. Slowly peel the film away from the glass.
- Remove Residue: Spray the window with soapy water and use a plastic scraper to remove any leftover adhesive.
- Clean the Glass: Wipe down the glass with a microfiber cloth to ensure it’s clean and free of residue.
Tips for a Smooth Removal
- Patience is Key: Take your time to avoid tearing the film and leaving pieces behind.
- Use Even Heat: Ensure you heat the entire film evenly to avoid patchy removal.
- Test First: If unsure, test the process on a small area to refine your technique.
Challenges and Solutions
Even with the best preparation, you might encounter a few challenges when removing window film. Here’s how to handle them.
Stubborn Adhesive
Sometimes, adhesive residue can be particularly stubborn. In such cases, a stronger solution, such as an adhesive remover, may be necessary. Always test any chemical solution on a small area first to ensure it won’t damage the glass. You can also review cleaning safety recommendations from the U.S. Environmental Protection Agency (EPA) when selecting cleaning products.
Safety Precautions
- Ventilation: Ensure the area is well-ventilated, especially when using a heat gun or chemical removers.
- Protective Gear: Wear gloves and eye protection when handling tools and chemicals.

Photo by Christoph Müller on Unsplash
After Removal: What’s Next?
Once the film and adhesive are removed, you have a clean slate to work with. Consider the following options:
Replacing with New Film
Modern window films offer advanced features, such as better UV protection and improved aesthetics. Replacing old film with new options can enhance both the look and functionality of your space. For more information about energy-efficient window upgrades, consult resources from the U.S. Department of Energy.
Exploring Alternative Solutions
For those looking to change things up, consider other window treatments like blinds or shutters, which can also improve energy efficiency and aesthetics.
Conclusion
Removing window film without leaving a sticky mess is entirely achievable with the right approach and tools. Whether you’re a homeowner looking to refresh your living space or an interior designer seeking to update a client’s home, understanding the removal process can save time and frustration.
By following the step-by-step guide outlined above, you can ensure a clean and residue-free removal, paving the way for new and exciting home improvement possibilities. With patience and precision, window film removal is a manageable task that opens the door to enhanced aesthetics and energy efficiency in any space.