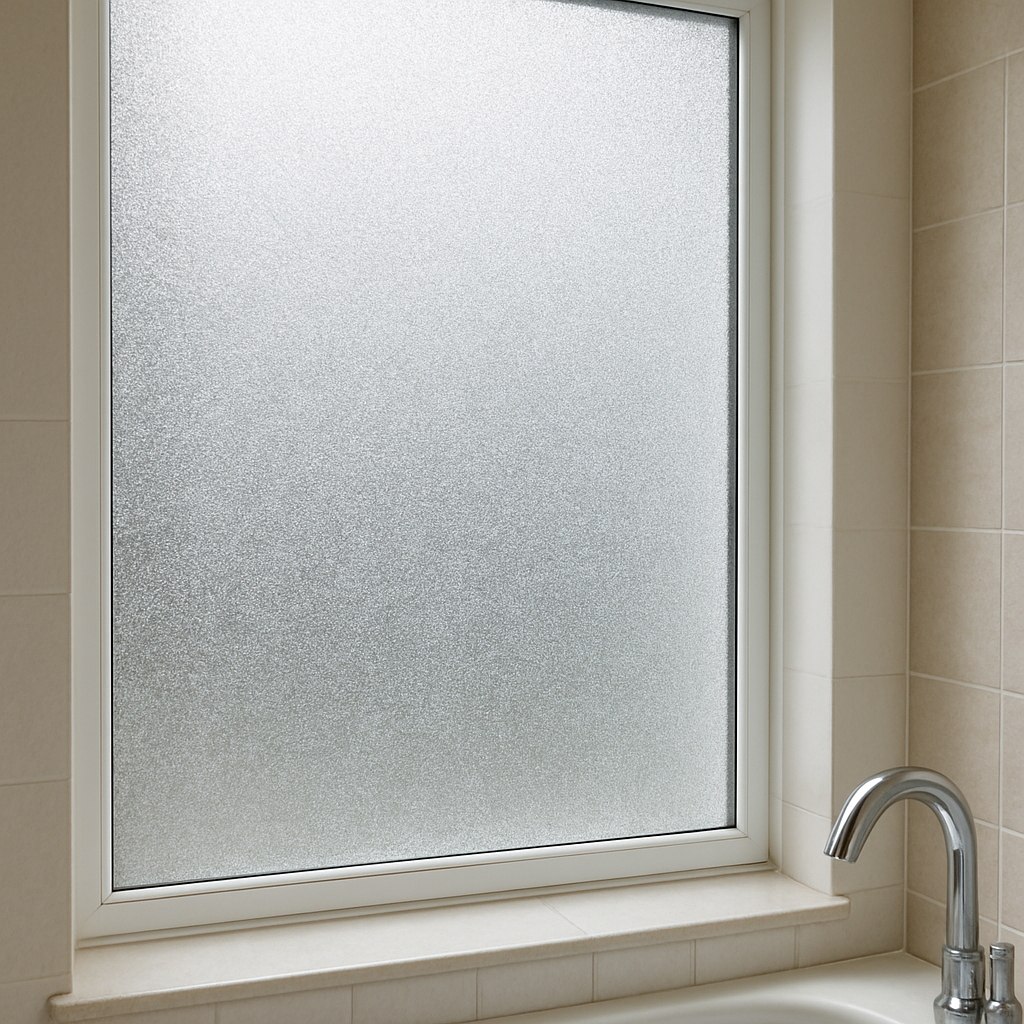
When it comes to home improvement, maintaining privacy without sacrificing style can be a challenge, especially in spaces like the bathroom. Enter bathroom window privacy film—a versatile solution that adds both elegance and privacy to your windows. But, as with any home improvement project, there are potential pitfalls to avoid. This article will guide you through the common mistakes and provide tips for a successful installation.
Bathroom window privacy film is a thin layer of vinyl or polyester applied to glass windows. It’s designed to obscure the view from outside while still allowing light to pass through, offering privacy without darkening the room. Available in various styles—such as frosted, etched, or patterned designs—privacy film is a popular choice for homeowners looking to enhance bathroom privacy without the need for curtains or blinds.
Benefits of Privacy Window Film
- Enhanced Privacy: The primary benefit is privacy. It prevents outsiders from peering into your bathroom, which is essential for comfort and security.
- Natural Light: Unlike curtains, privacy films allow natural light to filter in, maintaining a bright and inviting atmosphere.
- Energy Efficiency: Some films can block UV rays, reducing heat gain and helping to keep your bathroom cooler, which can lower energy bills.
- Aesthetic Appeal: With a range of styles and designs, window films can add a decorative touch to your space, complementing your overall interior design.
Common Pitfalls to Avoid
Incorrect Measurements
One of the most frequent mistakes is improper measurement. Privacy films need to fit precisely to avoid bubbles and ensure the film adheres correctly.
Tip: Measure your window’s width and height at three different points and use the smallest measurement to cut your film. It’s better to cut slightly larger and trim as needed.
Poor Surface Preparation
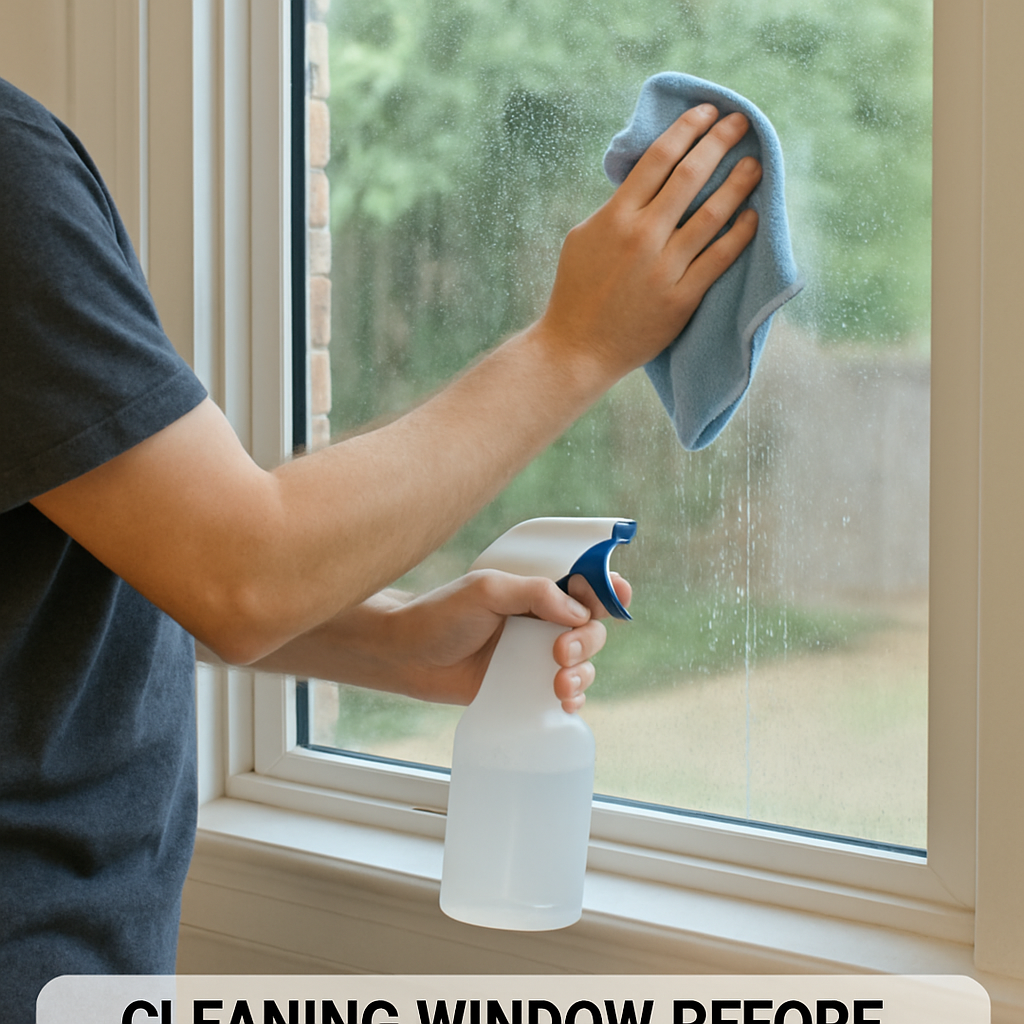
Applying film to a dirty or oily window can lead to poor adhesion and a less effective installation. Dirt and debris can create bubbles and wrinkles in the film.
Tip: Thoroughly clean the window using a non-abrasive cleaner and a lint-free cloth. Ensure the glass is completely dry before application.
Ignoring Manufacturer Instructions
Each privacy film product may have unique installation requirements. Ignoring these can lead to issues like peeling, bubbling, or ineffective privacy.
Tip: Read and follow the manufacturer’s instructions carefully. They often provide insights specific to their product that can enhance your installation process.
Rushing the Installation
Installing privacy film requires patience. Rushing can lead to misalignments, air bubbles, and uneven cuts.
Tip: Allocate sufficient time for the installation process. Work slowly and methodically, using a squeegee to smooth out bubbles as you apply the film.
Choosing the Right Privacy Film
Consider Your Aesthetic Needs
Privacy films come in a variety of styles. Whether you prefer a classic frosted look or a more decorative pattern, choose a film that complements your bathroom’s design.
Assess the Level of Privacy Required
Not all films offer the same level of opacity. Consider how much privacy you need and choose a film that meets those needs while still allowing natural light.
Evaluate Energy Efficiency Features
Some films offer additional benefits, such as UV protection and insulation. If energy efficiency is a priority, look for films with these features.
Installation Guide

by Cam Ballard (https://unsplash.com/@cam_ballard)
- Gather Your Tools: You’ll need a sharp utility knife, squeegee, spray bottle with soapy water, measuring tape, and a lint-free cloth.
- Clean the Window: As mentioned, ensure the window is clean and dry.
- Cut the Film: Measure and cut the film to size, leaving a little extra on the edges.
- Apply the Film: Spray the window with soapy water. Peel the backing from the film and position it on the window.
- Smooth Out Bubbles: Use a squeegee to press the film onto the glass, smoothing out any air bubbles from the center outward.
- Trim the Excess: Once the film is securely in place, use a utility knife to trim the excess around the edges.
Maintenance and Longevity
Regular Cleaning
To maintain the appearance and effectiveness of your privacy film, clean it regularly. Use a mild detergent and a soft cloth to avoid scratching the film.
Monitor for Peeling or Bubbling
Over time, the film may start to peel or develop bubbles, especially at the edges. Address these issues promptly to extend the film’s lifespan.
Tip: If bubbling occurs, use a needle to puncture the bubble and smooth it out with a squeegee.
Conclusion
Bathroom window privacy film is a cost-effective and stylish solution for enhancing privacy and improving the aesthetics of your bathroom. By avoiding common pitfalls and following proper installation techniques, you can enjoy the benefits of privacy film for years to come. Whether you’re an interior designer seeking to offer clients innovative solutions or a homeowner looking to upgrade your space, privacy film can be a valuable addition to any bathroom.